From Film to Digital: The Learning Continues
By Carree M.
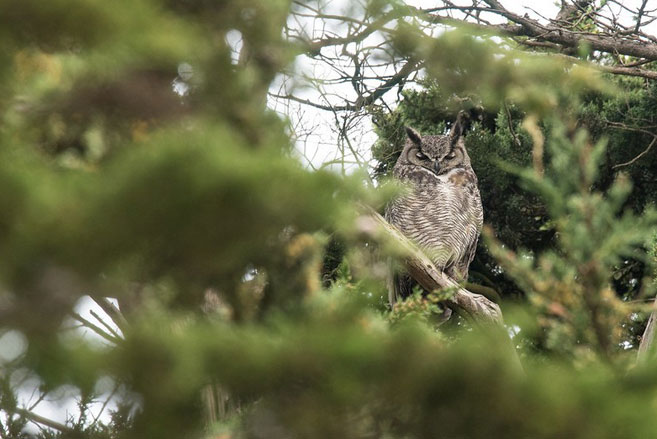
In a previous blog, I discussed lessons I learned from a tree while backyard birding to hone my audio and visual bird identification skills. In that article was a selection of bird photos that drummed up interest and inquiries. As a follow up to that article I’m taking a moment to discuss my development as a photographer and offer pointers to help guide your photo journey.
National Geographic Wasn’t Interested…
My first foray into photography began with a plastic 110 film camera. I photographed the “active” lives of my stuffed animals and was frustrated that the subjects, while “in focus” in the viewfinder, ended up blurry in the prints. Clearly that setback would be remedied when I was given an “adult” 35mm, or so I thought. What I didn’t know at the time was that I was being presented with a crash course in depth of field and camera limitations. It wasn’t until I purchased a manual 35mm Pentax for a college photography course that everything started to make sense. Weekly assignments required students to take a minimum number of photos and process the film and prints in the school’s lab. Film and paper weren’t cheap so it was in my best interest to master the art of framing and knowledge of settings or find myself going through said pricey materials faster than I could replenish funds.
I attribute my current approach to photography and the skills I picked up along the way to this experience of being thrown in the deep end with a compelling reason (my wallet) to figure things out quickly.
Do Your Homework
I can assure you that wildlife doesn’t care how much you spent on equipment or that you need a moment to figure out settings. This is why it’s important to not only know your camera and why your photos look the way they do, but also get acquainted with routines and behaviors of your subject(s). Pick a local spot you can visit on a regular basis (while adhering to current mandates and park closures) and take notes on observations: what is hanging around at certain times of day, the lighting situation throughout the day, etc.
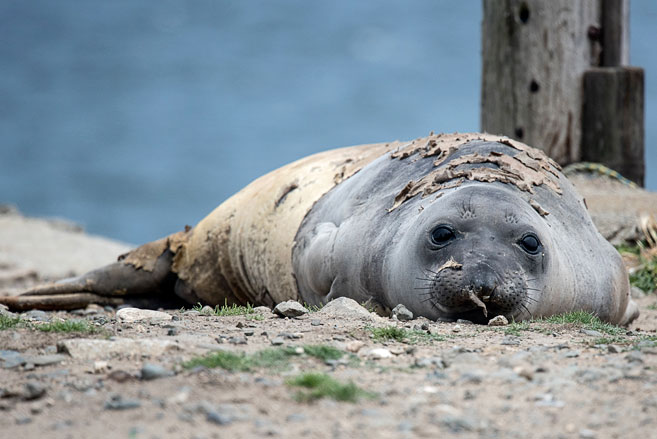
Why does this matter? Let’s say you miss the perfect shot, and yes it happens to the best of us, if you’ve done your homework you have info on whether or not that bird/mammal/insect makes a habit of repeatedly returning to a spot or just making a pit stop at a certain time of day. This is all with the caveat that you should always practice good nature etiquette by staying a respectable distance away from wildlife for their protection and yours (particularly useful if you don’t want to find yourself being used as a human chair by a couple thousand pounds of elephant seal).
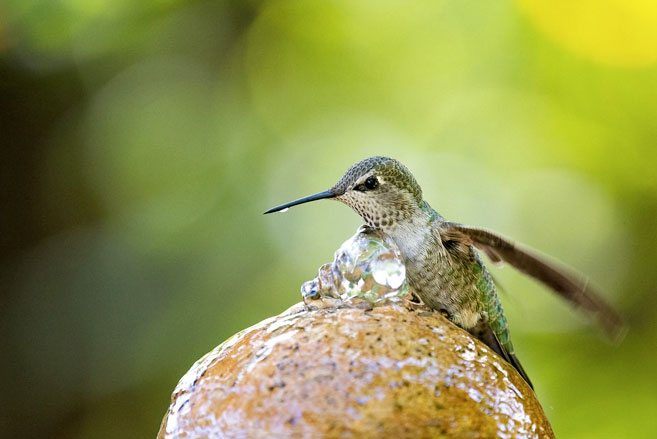
Let’s face it, the outdoors is not a studio with perfect lighting, backgrounds, and scenery. When you find a spot that offers good lighting and background, stick around to see what shows up. A nice clean background allows your subject to pop rather than getting lost in the scenery. It’s also helpful to know what shows up at what time of day so you can be prepared to snap away. I frequent a local park that has a fountain that various birds find appealing. At a certain time of day it gets really good light and the background of bushes provides a dark background so that the birds pop in the foreground. It’s an ideal spot so when you find a spot like that, thank the photography spirits and take full advantage of the situation.
The same goes for your backyard, neighborhood, or tree outside your window. Depending on time of day and how the sun passes over you, you may end up with certain spots or branches that end up in full light with dark areas surrounding it. If a bird or insect chooses to land in that spot, consider it a gift and take as many photos as you can before it decides to move on.
Capturing the movement of wildlife, especially birds, can be a daunting task. Even with my current camera setup and mid-range gear I couldn’t even count on 1 million fingers the number of times I’ve missed a shot because the bird took off too quick after landing or was generally being spazzy and moving from spot to spot. This is when it helps to keep in mind a couple of pointers. One being that if you’ve done your homework, even just sitting somewhere to observe a bird’s behavior for a few minutes, you may see patterns emerging.
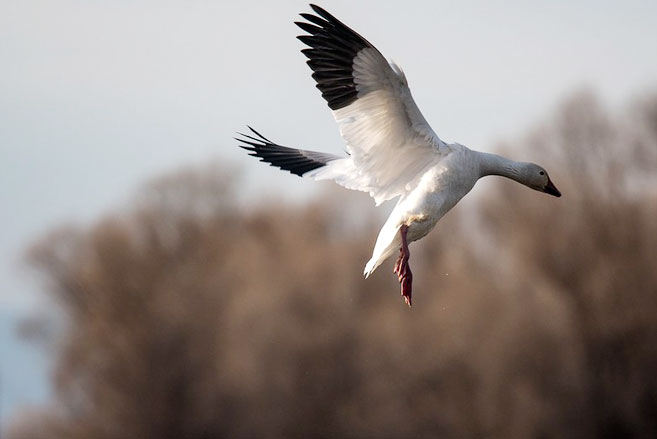
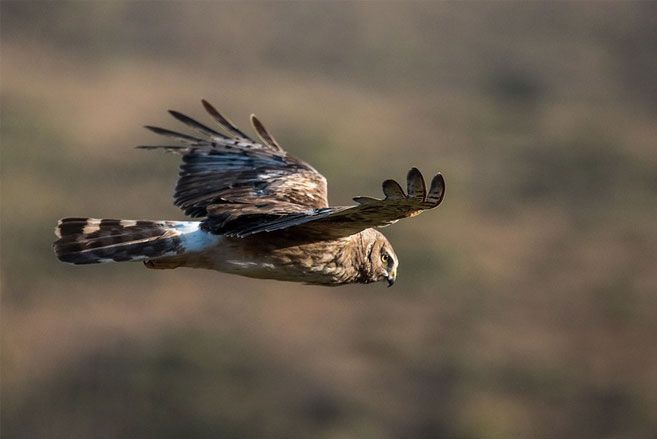
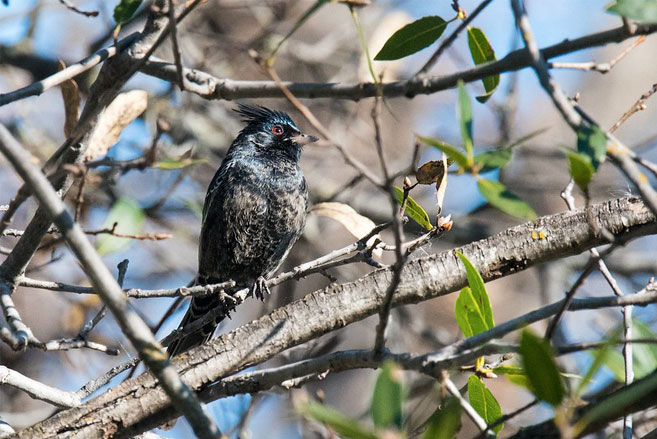
For instance, flycatchers such as Black Phoebe’s will sit perched until they see an insect. They’ll swoop down to grab it and most often return to the original perch. If you didn’t get a chance to capture the perched bird initially, give it a little bit to return and then you can try again. Another pointer is to use the action mode on your camera if yours has that capability. On Nikon it’s called “Continuous Mode” and on my model offers a High and a Low setting. On some cameras this may be referred to as “Sports Mode” or some similar verbiage. This setting will allow you to take multiple shots while holding down the shutter release. Digital cameras lend themselves well to this approach because you’re not wasting frames on film so go to town! Whenever I see a bird, especially one in flight, I fully embrace the continuous mode because I know I can’t focus quick enough to get one glorious shot and move on. If you’re ever tried to take just one photo of a falcon in flight you’ll know what I mean.
My Better Half (aka Camera)
I have a Nikon dSLR and primarily use telephoto lenses for wildlife photography, especially birds, because I like to keep a respectable distance away from wildlife. And to be honest, if you want good photos of birds chances are they aren’t going to sit or fly close enough to accommodate anything other than a telephoto lens. Nor should they, wildlife sightings are a gift bestowed upon those that are patient and adventurous.
Why Nikon? A coworker had a Nikon dSLR body they were no longer using and offered it to me. I purchased a Nikon lens and since I was already headed down that path, every camera body and lens after has been Nikon because once you have a certain amount of bodies/lenses from a particular company it takes a lot of money to start anew with another brand. Not a very compelling story is it?
I didn’t start with wildlife/nature photography until I visited Yosemite for the first time. I found myself completely in awe of, and lacking the skills to capture, the enormity of my natural surroundings.
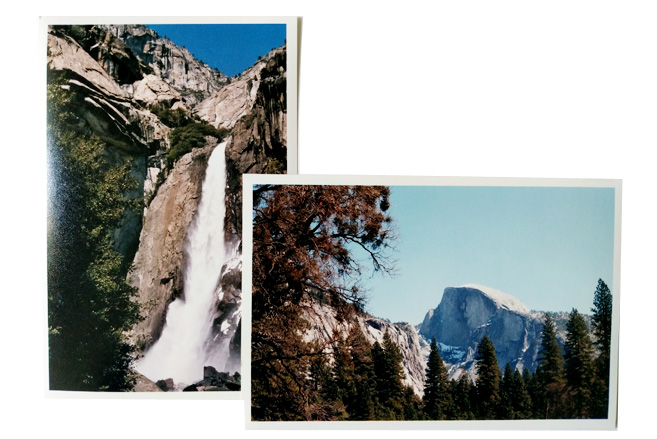
Since then my focus has been wildlife/nature photography with occasional side steps back into urban photography. I also volunteer as an event photographer for local nonprofits as a way to give back to the community.
Where to Start?
My advice is to start taking photos of anything and everything that catches your eye. Did you find a vibrant pink flower? Take a photo. See an interesting shadow or pass by a tree with fun craggy branches? Take a photo, no judgment here! Don’t have a camera? Grab your cell phone, you’ll still learn a lot about framing and composition.
When I’m out I’ll use my camera phone to take reference shots of plants for later identification or use it to get landscape shots that aren’t the forté of the telephoto lens. I’ll also use my phone to get close up shots of insects and bees. Another benefit to having a phone handy is that you can record bird calls/songs if you hear something that lifts your spirits or that you’ve never heard before and can reference later for bird identification.
There are people who have harnessed the power of the phone camera in ways that will blow your mind. If you are interested in sharpening your phone camera skills I highly recommend doing online searches for keywords such as “Phone Photography” to get pro tips on maximizing your devices capabilities. Here is one great article on the subject. These resources may also include tips that are applicable to photography across the board such as lighting, rule of thirds, changing perspectives, and so on. If these terms are new to you, don’t worry, you’ll start to pick up these concepts as you get more into photography. If you find a photographer who takes photos that inspire you to get our there with your phone camera, give them a follow on social media and see what they’re doing. Following people that inspire you will help you evolve in your photography journey.
Ignoring the Rules
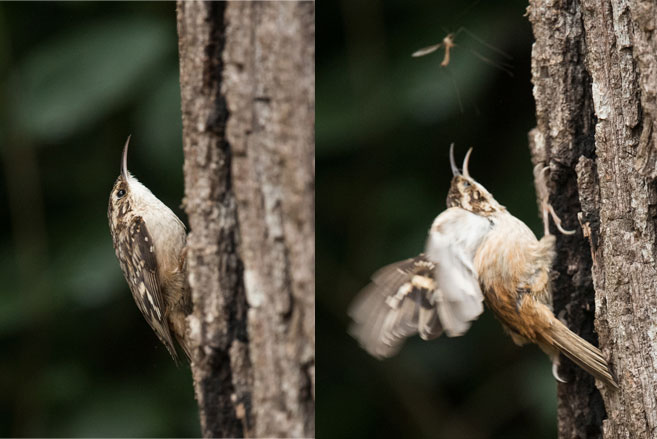
I have varying standards when it comes to assessing the success of my photos. Some are technically great but not particularly interesting, others are lacking in technical merit but capture a specific moment. Recently, I photographed a Brown Creeper making it’s way up (never down by the way) a tree. While I was reviewing the photos I came across one frame of the bird jumping to grab an insect. It was fun to see and a complete surprise. In that sense my camera does double duty: recording the moments as I see them and capturing those I do not. It’s a magical piece of plastic, metal, and glass.
Unless you are a professional photographer with a business that depends on selling your work, the pictures are just for ourselves and our friends. If you capture an awesome moment and it’s a photo you love, who cares if the background isn’t perfect. I’ve taken many photos that resonate with me for one reason or another and I share them regardless of the level of perfection as judged by myself and others. I’ve had my photos included in blog posts for the local Audubon chapter and used as photo tips for birding groups, and to me that’s a reward in itself. Would those photos get published in a magazine? No idea, but that’s not why I do this.
I do it to bring awareness and inspire people to foster their sense of awe and adventure when it comes to the natural world. Just go out and have fun!
Tips
- Rent equipment: try things before committing
- Visit local camera shops to get a feel for camera bodies and if possible, purchase from them to support local businesses
- Local and online retailers may have used equipment
- Join birding communities, online or in person (when gatherings are allowed to resume): People are generally helpful with equipment or photography questions.
- Follow photographers on social media and note what they’re doing with framing, background, styles, etc.
About Carree: Carree is a wildlife & nature photographer. She shares her photography on Instagram here. She is a member of GGBA and the Feminist Bird Club, and is a volunteer with Girls Who Click, a San Francisco Bay Area nonprofit dedicated to empowering teen girls to enter the male-dominated field of nature photography. All of the photos featured in today’s blog were shot by Carree.
Have a shelter-at-home birding story you’d like to share? Email your essays to our Communications Manager, Melissa, at mramos@goldengatebirdalliance.org.